
需要的工具快速連結:
-
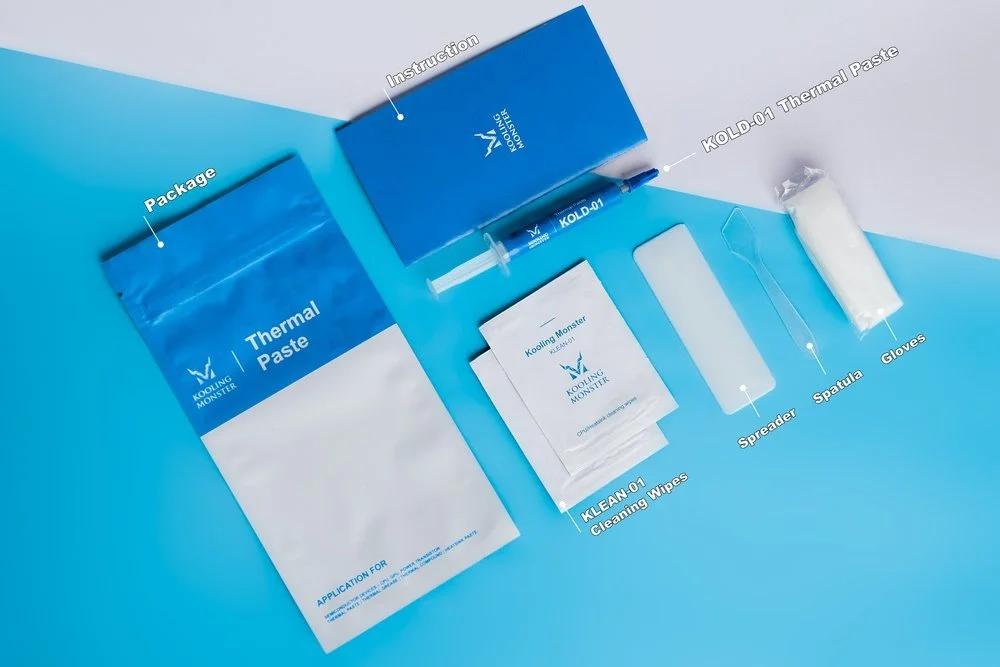
KOLD-01 散熱膏(包含 KOLD-01 散熱膏 × 1、手套 × 1 副、KLEAN-01 散熱膏清潔布 × 2、抹板 × 1、抹刀 × 1、說明書 × 1)
-
KLEAN-01 散熱膏清潔布(包含 KLEAN-01 散熱膏清潔布 × 20、手套 × 1 副、抹板 × 1、抹刀 × 1)
-
KOMBO-01 螺絲起子組(包含起子頭 × 100、起子手柄 × 1、延長桿 × 1、軟式延長桿 × 1、鑷子 × 1、1/4" 轉 4mm 轉接頭 × 1、塑膠撬棒 × 3、SIM 卡退卡針 × 1、吸盤 × 1、撥片 × 8、充磁/退磁器 × 1、防靜電刷 × 1、磁性螺絲墊 × 1)
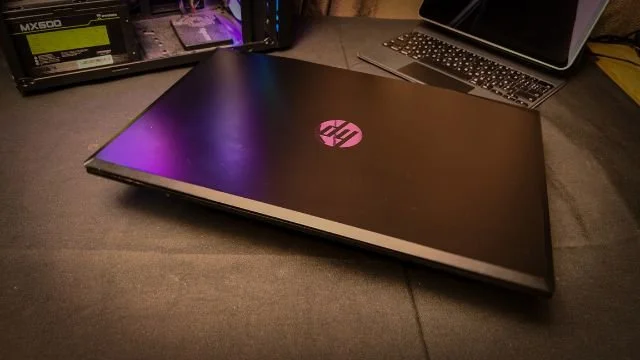
那你想換 HP Pavilion Gaming 15 的散熱膏,又不敢沒指示就動手。這觀念對!
沒有在筆電上清和換散熱膏的經驗的話,找專業協助是好主意。不過這篇會告訴你換散熱膏前該知道的一切。
先講一下換完會有什麼結果。
換完散熱膏我能得到什麼?

為了講清楚,我們在一台 3 年老的 HP Pavilion Gaming 15 上跑壓力測試,塗新散熱膏前後各一次。這次用我們自家的 Kooling Monster KOLD-01 散熱膏。
塗新散熱膏前,壓力測試中 CPU 最高飆到 84.6°C。測試前待機約 50~65°C。這溫度比該有的高,特別是 CPU 沒跑重度工作的時候。
塗新散熱膏後,測試前待機約 40~50°C。壓力測試中,最高溫度降到 69.1°C 這個涼快的範圍。
只是塗新散熱膏就改善約 15 度!不用說,如果你的 Pavilion Gaming 15 幾年沒換散熱膏,換完能期待差不多等級的效能提升。
換散熱膏前要準備什麼?
開始前,必備工具要備好。
首先最重要的 —— 新散熱膏。一定要挑高品質的,才能有最佳結果。
還需要清舊散熱膏的工具。建議買專用清潔方案,例如 Kooling Monster KLEAN-01。另外,如果你買 Kooling Monster KOLD-01 散熱膏,包裝內會免費附清潔布。
還需要螺絲起子組拆解筆電。要撬開金屬底殼,需要吸盤和三角撬棒。還要把螺絲分類好。可以用小收納盒分類不同螺絲。
要拔風扇線,建議用鑷子和塑膠撥片。
打開之後,還需要清潔工具清風扇和其他硬體。包括小刷子和吹風球(或壓縮空氣罐)。塗新散熱膏時,需要抹刀均勻抹開 —— KOLD-01 包裝 內免費附。
最後,建議做這些時戴保護手套。買我們的 KOLD-01 散熱膏 或 KLEAN-01 清潔組 都會免費附保護手套,不用煩惱這個。
怎麼拆解 HP Pavilion Gaming 15、換散熱膏?
第一步是拆下筆電外殼和電池。
照以下步驟:
-
把筆電翻過來。
-
拆掉頂部的長螺絲和底部的短螺絲。用收納盒把不同螺絲分類好。
-
用吸盤和三角撬棒把背蓋撬開,然後抬起。
-
鬆開電池上的螺絲,拆下電池。
接下來要拆風扇清潔。照以下步驟:
-
拆掉風扇上的兩顆螺絲。
-
用鑷子和撥片拔掉接頭。
-
重複以上兩步拆另一顆風扇。
-
用刷子加吹風球或壓縮空氣清風扇灰塵。
接下來拆散熱片,清底下的舊散熱膏:
-
鬆開散熱片上的 7 顆螺絲,抬起。
-
戴保護手套。
-
用清潔布清掉 CPU/GPU 和散熱片上乾掉的散熱膏。建議至少用兩張清潔布徹底清。
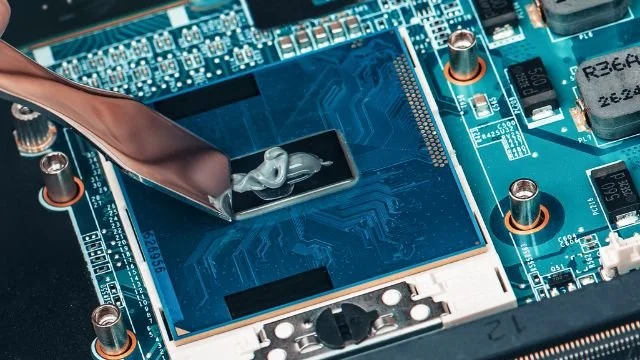
接下來塗新散熱膏:
-
拿散熱膏打開。
-
在 CPU 和 GPU 上塗薄而均勻的一層。可以用抹刀抹開。
-
邊緣有多餘散熱膏就清掉。
最後組裝筆電。反向組回去即可,也就是裝回散熱片、風扇、電池,然後外殼。
散熱膏多久該換一次?
看你在筆電做什麼、散熱膏品質多好。
因為這是遊戲 PC,你大概每週至少打幾次遊戲 —— 遊戲是重度工作。這種情況建議每 1~2 年換一次散熱膏。但用低品質散熱膏的話,要更常換。(延伸閱讀:散熱膏多久該換一次?)

一般原則是盯著溫度。發現溫度比該有的高,大概就是散熱膏該換了 —— 那時就該換。
散熱膏要多久才開始發揮?
好品質散熱膏不用等。例如用 KOLD-01,組回筆電一開機就給最佳效能。
但有些散熱膏有「固化時間」,意思是要等一段時間才開始給最佳效能。固化時間通常在產品頁寫。(延伸閱讀:散熱膏要多久才會發揮效果?)
總結
告訴我們 下一次想看哪款筆電示範這個流程!
換散熱膏聽起來是大工程,但照對的指示做其實很簡單。開始前先把工具準備好。
拆解筆電、清風扇、清舊散熱膏、塗新的、裝回去。